
How to Register & Activate Your TM SIM via GlobeOne App: A Step-by-Step Guide (2025)”
The SIM Registration Act (Republic Act 11934) in the Philippines requires all mobile users to register their SIM cards to prevent scams, fraud, and anonymous mobile use. This law applies to both new and existing users, including TM subscribers. If you recently bought a TM SIM, you must complete TM SIM registration via GlobeOne App to keep your number active.
Registering your SIM is not just a legal requirement—it also protects your identity and prevents unauthorized use of your number. The good news is that the process is fast and simple, especially if you use the GlobeOne App. Many users Activate Your TM SIM via GlobeOne App because it’s:
- Quick – Registration takes only a few minutes
- Secure – Your details are verified before activation
- Convenient – No website issues or store visits needed
In this guide, we’ll walk you through Activate Your TM SIM via GlobeOne App step by step so you can activate your SIM safely and start using your calls, texts, and mobile data without any delays. Whether you’re registering a new SIM or activating an existing one, this guide will help you get it done smoothly.
Requirements Before You Start
Before you begin Activate Your TM SIM via GlobeOne App, make sure you have everything ready. Preparing these requirements will help you complete the process smoothly without delays or verification errors.
Here’s what you need:
Active TM SIM card
Insert your TM SIM into your phone and make sure it has a signal before starting the registration.
GlobeOne App (latest version)
Download and install the GlobeOne App from Google Play Store or Apple App Store. This app is required for Activate Your TM SIM via GlobeOne App.
Valid government-issued ID
You must submit a valid ID to verify your identity during Activate Your TM SIM via GlobeOne App. Accepted IDs include:
- Philippine Passport
- Driver’s License
- Philippine National ID (PhilSys ID)
- UMID
- SSS ID
- PRC ID
- Postal ID
- Voter’s ID
- Senior Citizen ID
- OFW ID
- Government Office ID
Stable internet connection
You must stay online during Activate Your TM SIM via GlobeOne App to upload your ID and fill in your personal information.
Once you have all these requirements ready, you can proceed to the next step and start your Activate Your TM SIM via GlobeOne App in just a few minutes.
Step-by-Step Registration via GlobeOne App
Registering your TM SIM is now easy and secure using the GlobeOne App. Just follow the steps below to complete your Activate Your TM SIM via GlobeOne App in a few minutes.
Step 1: Download & Open GlobeOne App
- Go to Google Play Store (Android) or Apple App Store (iOS).
- Search for GlobeOne App and install it.
- Open the app once installed.
Step 2: Log in or Create an Account
- Enter your TM mobile number to sign in.
- If you don’t have an account yet, tap Create Account.
- Follow the instructions to register using your TM number.
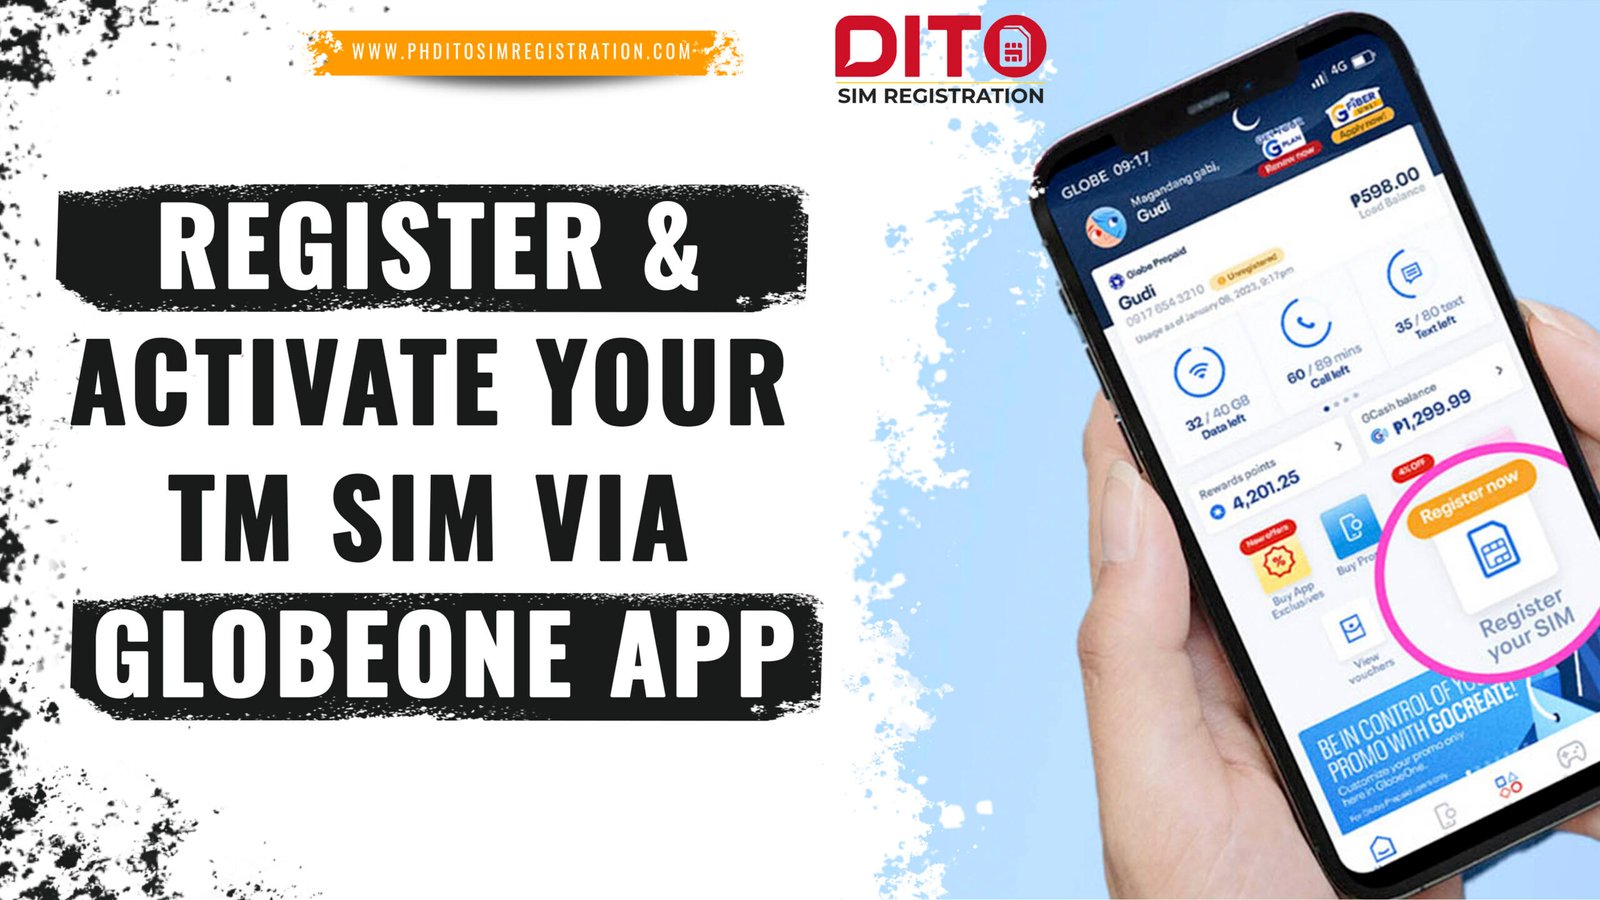
Step 3: Go to SIM Registration
- On the app dashboard, tap the option for SIM Registration.
- Select your TM number to begin the Activate Your TM SIM via GlobeOne App process.
Step 4: Verify Your Number
- Enter your TM mobile number when asked.
- You will receive a One-Time PIN (OTP) via SMS.
- Enter the OTP to continue.
Step 5: Fill Out Personal Information
- Provide accurate details as required under the SIM Registration Act:
- Full Name
- Date of Birth
- Gender
- Nationality
- Address (with ZIP code)
- Make sure all information is correct to avoid delays in your Activate Your TM SIM via GlobeOne App.
Step 6: Upload Valid ID & Selfie
- Select and upload a valid government-issued ID.
- Take a clear selfie for identity verification.
- Ensure your face is visible and ID details are readable.
Step 7: Review Your Details
- Double-check all personal information and ID images.
- Confirm that everything is accurate before submitting.
Step 8: Submit & Get Confirmation
- Tap Submit to complete your Activate Your TM SIM via GlobeOne App.
- You will receive a confirmation message and a registration reference number.
- Keep this reference number for future verification.
Activation Process
Once you complete your Activate Your TM SIM via GlobeOne App, the activation process is usually quick and automatic. Here’s what you need to do to make sure your SIM is fully active and ready to use:
Automatic Activation
After successful registration, your Activate Your TM SIM via GlobeOne App will be automatically activated by the system. There is no need to submit another request or visit a store.
Restart Your Phone
If your signal doesn’t appear right away after registration:
- Turn off your phone
- Wait 10–15 seconds
- Turn it back on
Restarting refreshes your network connection and helps your phone detect the TM network.
Check Activation Status in GlobeOne App
To confirm your activation:
- Open the GlobeOne App
- Go to Account → Profile
- Check if your SIM status shows “Registered” and “Active“
Once confirmed, you can start enjoying calls, texts, and mobile data right away.
Common Issues & Fixes
Even though Activate Your TM SIM via GlobeOne App is simple, some users may face minor issues during the process. Here are the most common problems and easy fixes:
Didn’t Receive OTP (One-Time Password)?
The OTP is needed to verify your number during Activate Your TM SIM via GlobeOne App.
Try these solutions:
- Turn Airplane Mode ON, wait 5 seconds, then turn it OFF
- Move to an area with better signal coverage
- Tap Resend OTP after waiting at least 30 seconds
- Check if your inbox is full and delete old messages
- If still not working, restart your phone and try again
ID Upload Not Working?
A clear ID is required for TM SIM registration via GlobeOne App to prevent fraud.
Fix it by:
- Taking a photo in good lighting (no shadows or glare)
- Placing ID on a flat surface
- Ensuring your details are readable
- Avoiding blurry or cropped photos
- Using an allowed ID (Passport, National ID, Driver’s License, UMID, PRC, etc.)
GlobeOne App Not Working?
Sometimes the app may lag or crash during TM SIM registration via GlobeOne App.
Quick fixes:
- Update the GlobeOne App to the latest version
- Clear cache (Settings → Apps → GlobeOne → Clear Cache)
- Switch to mobile data or WiFi
- Try registering during off-peak hours (late evening or early morning)
- If the issue continues, reinstall the app
Why Register Early?
TM SIM registration via GlobeOne App as soon as possible is important for many reasons:
- Avoid SIM Deactivation
If your SIM is not registered by the deadline, it will be permanently deactivated and you’ll lose your number, load balance, and promo subscriptions. - Uninterrupted Calls, Texts & Data
Without registration, your mobile services may be restricted or blocked. Early registration ensures smooth and continuous use of your SIM. - Secure Your SIM Against Fraud
Registration verifies your identity and protects your SIM from being used illegally by scammers or hackers. - Keep Access to Digital Services
Many apps and accounts like GCash, online banking, and social platforms need a verified number. SIM registration keeps your number safe and active for these services. - Fewer Delays Later
Avoid last-minute rush when networks are busy. Register now to save time and avoid system delays.
FAQs & Trouble Fixes
Conclusion
Registering your TM SIM is simple, fast, and secure—especially when done through the GlobeOne App. It only takes a few minutes and ensures that your SIM stays active for calls, texts, data, and important services like GCash and online banking.
After completing your registration, make sure to save your reference number. You may need it later for account verification or support concerns.
Register now to stay connected without any interruptions.