DITO Internet Settings: How to Configure APN for Fast & Reliable Connection
If your DITO internet is slow or not working, setting up the right DITO internet settings (also known as APN configuration) can help you fix it quickly. These settings allow your phone to properly connect to DITO’s network and ensure your data works as it should. It’s a small step that can save you hours of frustration.
The good news? You don’t need to be tech-savvy to fix this. In this guide, we’ll walk you through everything you need to know about DITO internet settings—from what they are to how you can set them up on your phone in just a few taps.
What Are Internet (APN) Settings?
APN stands for Access Point Name—it’s a small but important setting in your phone that connects your device to your mobile network’s internet service. Think of it as a digital “gateway” that tells your phone how to talk to DITO’s network.
Every mobile network, including DITO, has its own APN configuration. When the correct DITO internet settings are applied, your phone can use mobile data for browsing, streaming, and messaging apps.
Most of the time, your phone will automatically detect and apply DITO internet settings when you insert a DITO SIM. But in some cases—especially after a phone reset or switching from another provider—you may need to enter them manually to get your internet working again. It’s a quick fix that can instantly restore your connection.
DITO APN Settings for Android
If your mobile data isn’t working properly, updating your DITO internet settings manually on Android can help. Just follow these easy steps to get your connection back up and running:
Step-by-step Guide:
- Open Settings
- Tap Network & Internet or Connections
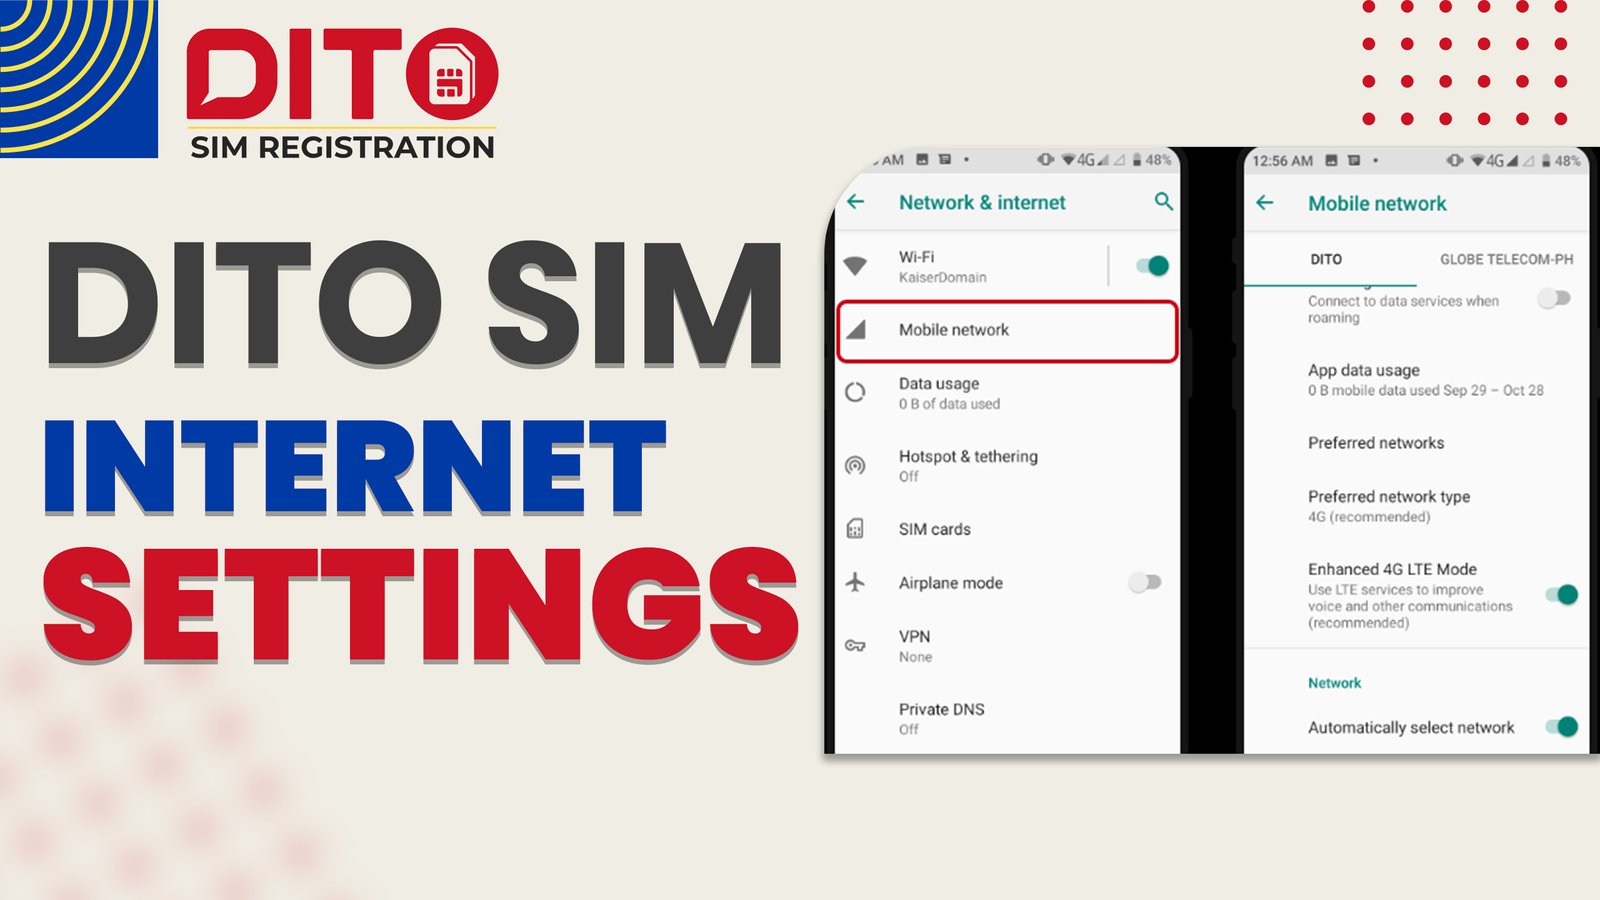
- Go to Mobile Network → then tap Access Point Names
- Tap Add New or the + icon to create a new APN
Enter the following values exactly:
- Name: DITO SIM
- APN: internet.dito.ph
- Authentication Type: None
- APN Type: default,supl
- APN Protocol: IPv4/IPv6
- MCC: 515
- MNC: 66
Once done:
- Tap the three dots (⋮) or menu button and select Save
- Select the newly created APN profile
- Restart your device to apply the changes
With these updated DITO internet settings, your phone should now connect smoothly to DITO’s mobile data network.
DITO APN Settings for iPhone (iOS)
If you’re using an iPhone and your mobile data isn’t working, manually updating the DITO internet settings can resolve the issue in just a few steps. Here’s how to do it:
Step-by-Step Guide:
- Go to Settings
- Tap Cellular
- Select Cellular Data Network
Under the “Cellular Data” section, enter:
- APN: internet.dito.ph
- Username: (leave blank)
- Password: (leave blank)
That’s it. No need to fill in anything under the MMS or Personal Hotspot sections unless required by a specific promo.
Once entered:
- Press the back button to save automatically
- Restart your iPhone to apply the changes
With these DITO internet settings updated, your iPhone should now connect to the internet without issues.
Troubleshooting Tips When Internet Still Doesn’t Work
Even after applying the correct DITO internet settings, you might still face issues. Here are a few simple but effective steps to help you troubleshoot and get back online quickly:
Try These Fixes:
- Double-check your APN entries
Make sure every field (especially the APN: internet.dito.ph) is typed correctly—small mistakes can prevent data access. - Toggle Airplane Mode ON and OFF
This helps refresh your phone’s connection to the DITO network. - Restart your phone
- Sometimes, a simple reboot is enough to apply new DITO internet settings properly.
- Ensure mobile data is ON
Go to your settings and confirm that mobile data is enabled. If you’re connected to Wi-Fi, try switching it off to test mobile data directly. - Test your SIM in another phone
This will help you check if the issue is with the phone or the SIM card itself. - Check for signal strength or coverage issues
If the network is congested or you’re in a low-signal area, it may affect speed or connection.
These basic steps usually solve most issues related to DITO internet settings. If none of these work, you can reach out to DITO support for help.
Why Correct Internet Settings Improve Your DITO Experience
Making sure your DITO internet settings are properly configured can make a big difference in your overall mobile experience. It’s not just about connecting—it’s about getting the most from your SIM.
Here’s why proper setup matters:
- Unlocks Full Features
With the right DITO internet settings, you get access to mobile data, MMS, personal hotspot, and other advanced services without errors. - Maximizes Speed and Network Use
Correct APN settings help your device connect to DITO’s 4G, LTE, VoLTE, and even 5G networks smoothly—no slowdowns or random disconnections. - Fixes Compatibility Issues
If your phone isn’t officially listed but still works with DITO, a manual setup ensures it runs without hiccups.
In short, setting up your DITO internet settings correctly makes your browsing faster, calling clearer, and overall experience more reliable—especially on new or imported phones.
Frequently Asked Questions (FAQs)
Conclusion
Using the correct DITO internet settings is one of the easiest ways to fix slow or non-working data. A simple APN update can make a big difference in how fast and stable your internet connection feels.
While most phones set up automatically, it’s always good to know how to manually configure your APN—especially if you’re experiencing browsing issues. Manual setup ensures your device connects properly to DITO’s high-speed network.
If updating your DITO internet settings doesn’t help, it’s a good idea to download the DITO App for easier troubleshooting or contact their support team for personalized help.


One Comment